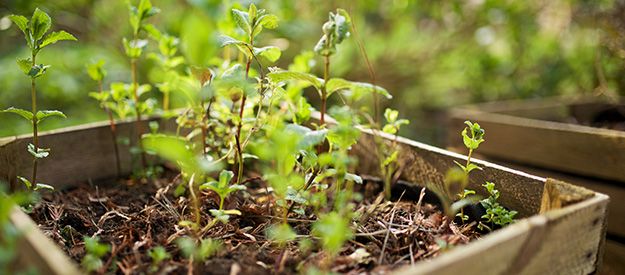
Making your Own Raised Bed
Many people nowadays buy a ready-made kit when they want to put up a raised bed in their gardens. But that's not necessary because you can make one yourself relatively easily. Read on to find out how.
The Basics
The perfect height for a raised bed is between 70 and 80 cm and no higher than 1 m. The width should be limited to a maximum of 120 cm so that you can still reach every part of the bed easily. The length depends on how much space is available and how big you want it to be.
Wood is the most commonly used material to make a raised bed, which makes sense as it is easy to work with. However, if the wood is in direct contact with soil or is permanently damp, it will begin to rot. You should therefore always place the corner posts on stones and line the inside with landscape fabric. This dramatically increases the durability of the wood. The thickness of the side boards and how well they are protected from moisture are also important factors to be considered. After a few years, however, it will need to be replaced.
Choose a sunny spot for your raised bed and make sure the soil is free from roots and rocks. Then carefully level the ground so that the raised bed stays flat.
If you want wood that is not treated with chemical wood preservatives, choose larch, robinia or Douglas fir, because these woods are naturally fairly resistant.
9 Steps to Your Own Raised Bed
- Mark out the corner points
Mark out the corner points for your future raised bed. Place flat stones or rocks as a foundation for the corner posts. Pavers are a good option. Finally, make sure they are all at the same height with the help of a spirit level. - Cut out your wooden boards
Use a saw to cut the wooden boards for the four sides to the desired length. Use a wood preserving glaze to help extend the life of your raised bed. It is important to choose products that are not harmful to you or the environment - after all, what grows in your raised bed will eventually end up on your plate. - Start with the headboards
Begin assembly with the two headboards and make sure they are placed correctly. - Add the sideboards
After the headboards are assembled, attach the bottom board on each side. You can then measure again and make adjustments if necessary. When everything is correctly aligned, add the remaining side boards. It is best to use wood screws to do this. - Install chicken wire
To prevent voles from eating your lettuce and co., you should line the bottom with fine-meshed wire (12 mm mesh size) and then staple it firmly to the side walls. - Line with landscape foil
Line all the side walls with landscape fabric and weigh them down by placing bricks or stones on the ground. This protects the wood from too much moisture from the inside. You can also put in partition walls to stabilise the bed. - Flat wooden strips on the tops
To complete the frame, screw flat wooden strips to the tops of the frame. Sand them down well so that there are no splinters that could pose a problem while you're working on your raised beds later. It is best to then coat the strips with a coloured glaze.
The construction is now complete. Check everything again and make adjustments if necessary. - Filling up your raised bed
There are several options available to you. The simplest is to fill the raised bed completely with humus and nutrient-rich soil. The layer should be at least 30 cm thick.
Alternatively, you can fill the bed in layers. Start at the bottom with a layer of barely rotted branches and twigs. Follow with a layer of leaves and grass clippings and finally fine-grained soil that is rich in humus and nutrients. Firmly press down each layer to compact everything. Eventually the lower layers will rot, causing the filling to sag. Just keep refilling with soil as necessary. After two to three years, replace the filling completely. - Planting
Now comes the exciting part - you can fill up your raised bed with the plants of your choice. Water well after planting and bear in mind that raised beds lose water faster. Check regularly to see if the soil is moist enough to keep your plants from drying out.
Latest reviews
-
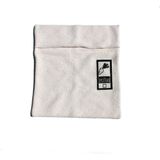
Vejibag Vejibag Standard
- Made of undyed organic cotton
- Keeps vegetables fresh for a long time
- Size: 27.94 x 30.48 cm
-
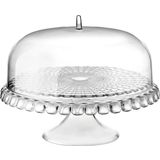
guzzini Tiffany Cake Stand with Dome, large, Transparent
- Transparent
- White
- Elegant shatter-proof clear dome
- High-quality acrylic
- Dimensions: Ø 36 cm, H: 28 cm
-
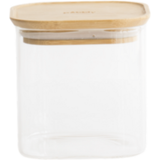
Pebbly Square Glass Container with Bamboo Lid, 0.8 litres
- Made from durable borosilicate glass
- Stackable & space-saving
- Airtight seal
-
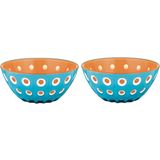
guzzini Set of 2 Bowls Ø12cm LE MURRINE, Blue / White / Orange
- Blue / White / Orange
- Grey / Yellow
- Black / White / Red
- Red / White / Transparent
- Sand / White / Moss Green
- +3
- Attractive glass look
- Made of high-quality plastic
- Volume: 300 ml each
Magazine Articles:
Discover Interismo:
-
Delivery in 3 business days.
-
We operate in a
climate-conscious manner. More than 8.800 products
Secure payments
with SLL encryption technology